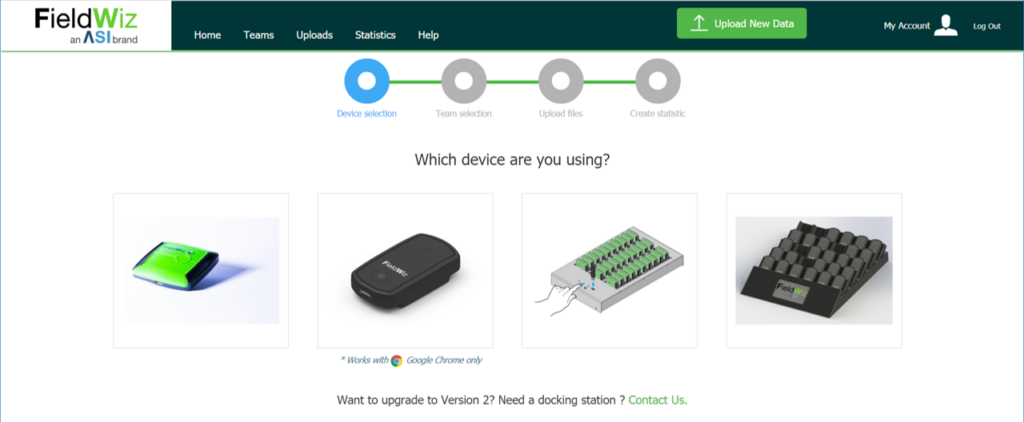
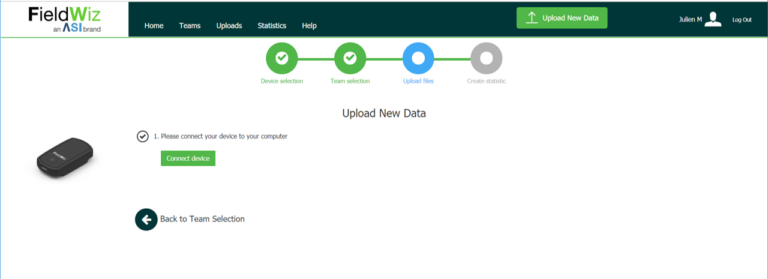
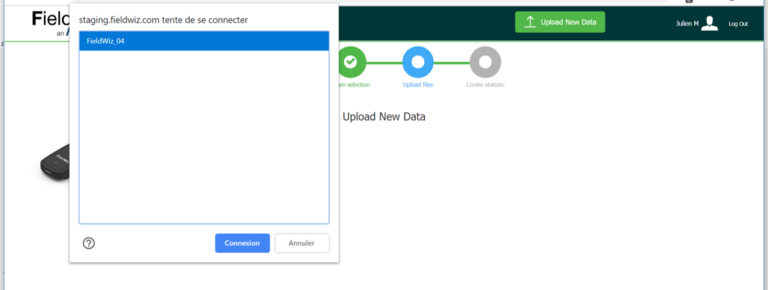
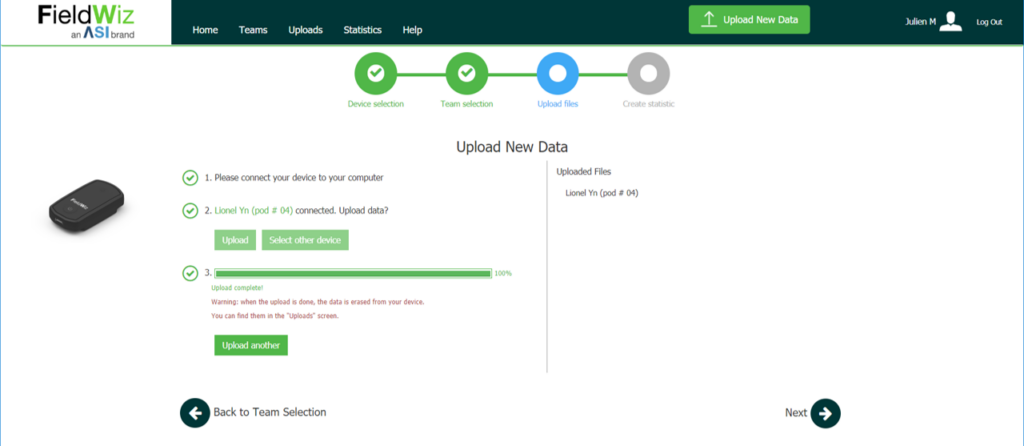
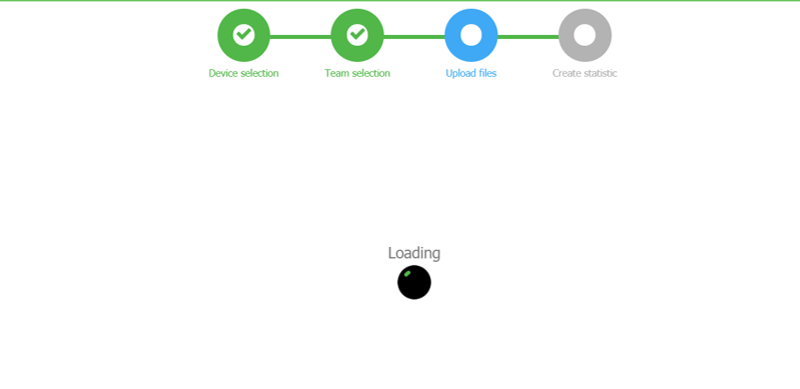
3. Upload Data from Sensor(s) V2 / Uncategorized / By Angel Tutorial Upload Data from Sensor(s) Select “Upload New Data” on the top right of the screen. Select the Sensor V2 Select the related team. Connect the sensor with the USB-C cable to your computer (See section Quick Start Sensor(s) V2 for the data recording).Important: The Web-USB sync mechanism is only supported by Google Chrome. You can download Google Chrome for free here.Click on “Connect Device” A pop-up open showing the connected sensor(s). Select the related sensor. Once connected, click on “Upload” Warning: when the upload is done, the data is erased from your device. You can find them in the “Uploads” screen.The Uploaded Files are listed on the right side. Click on “Next” Once successfully uploaded, you can start with the Session Selection.